The track
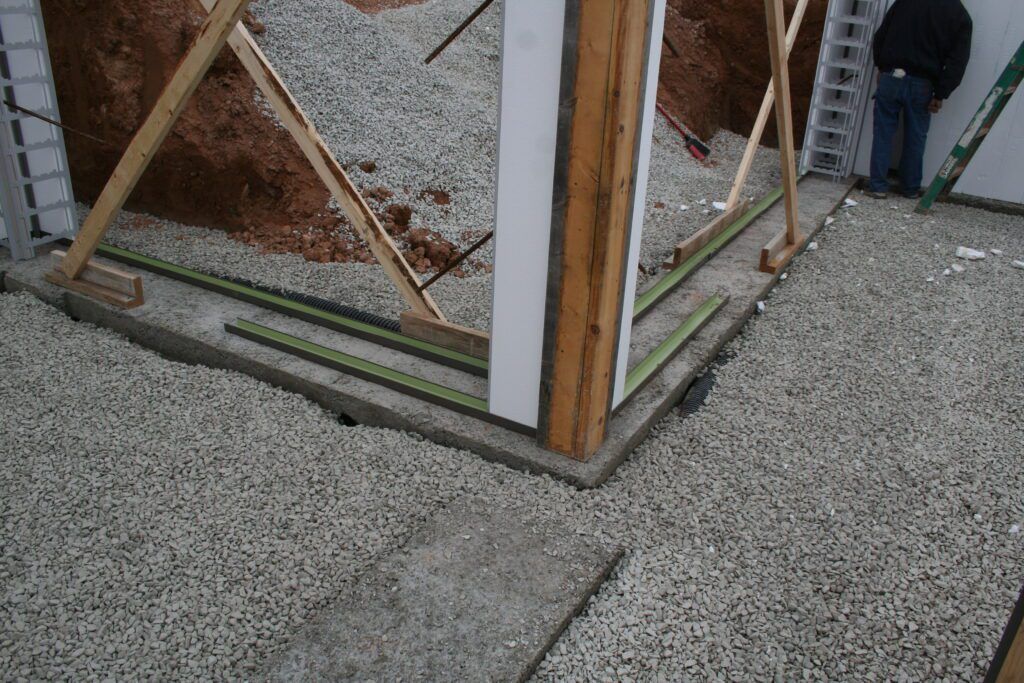
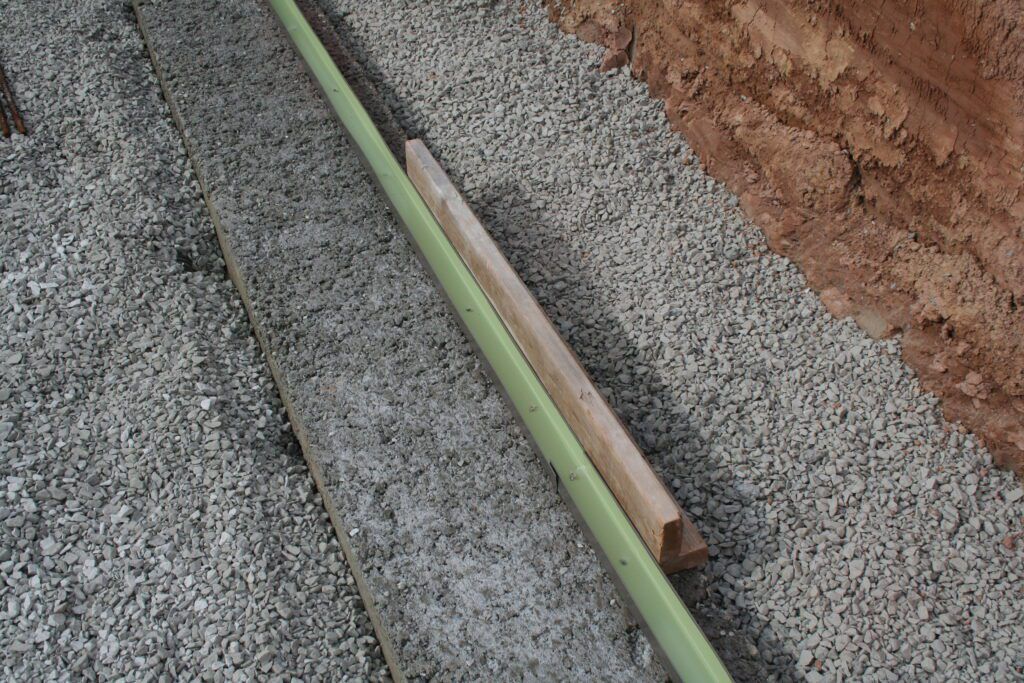
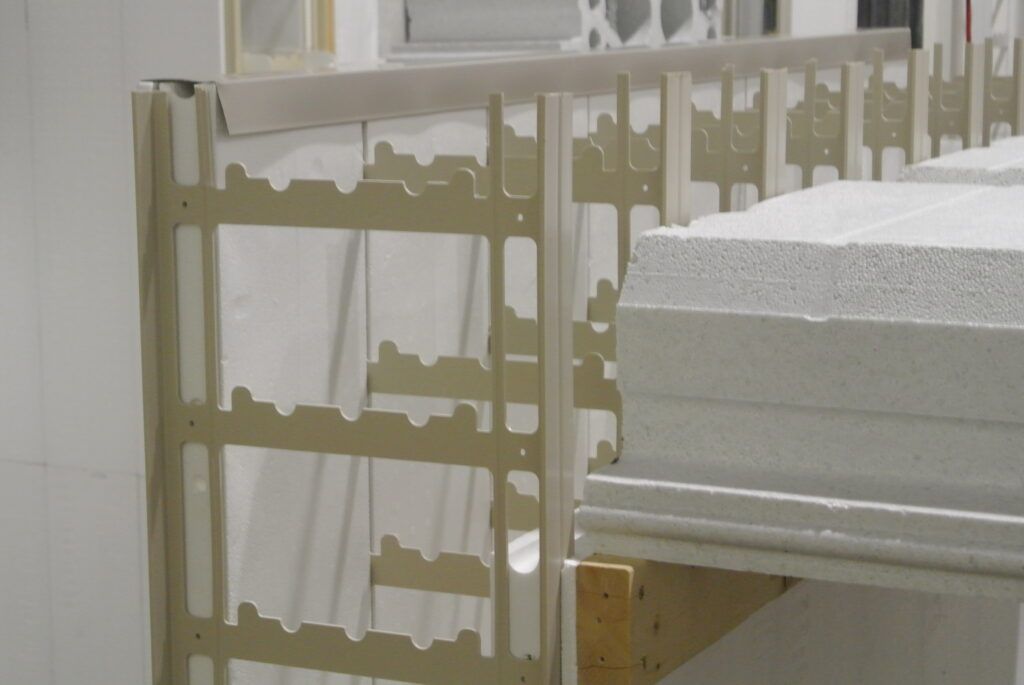
Everything starts with a C-channel fixed to an ordinary footing. It's the layout, the alignment and the anchor — the wall's exact line is locked before anything stands up.
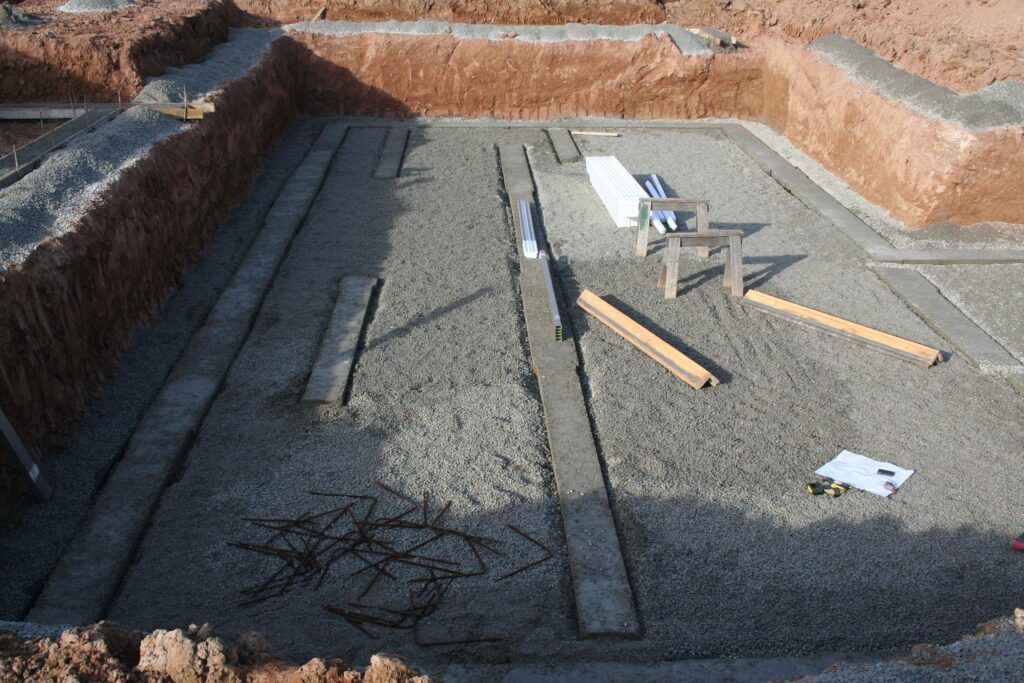 An ordinary footingThe wall starts on a standard poured footing — chalk lines, not special hardware.
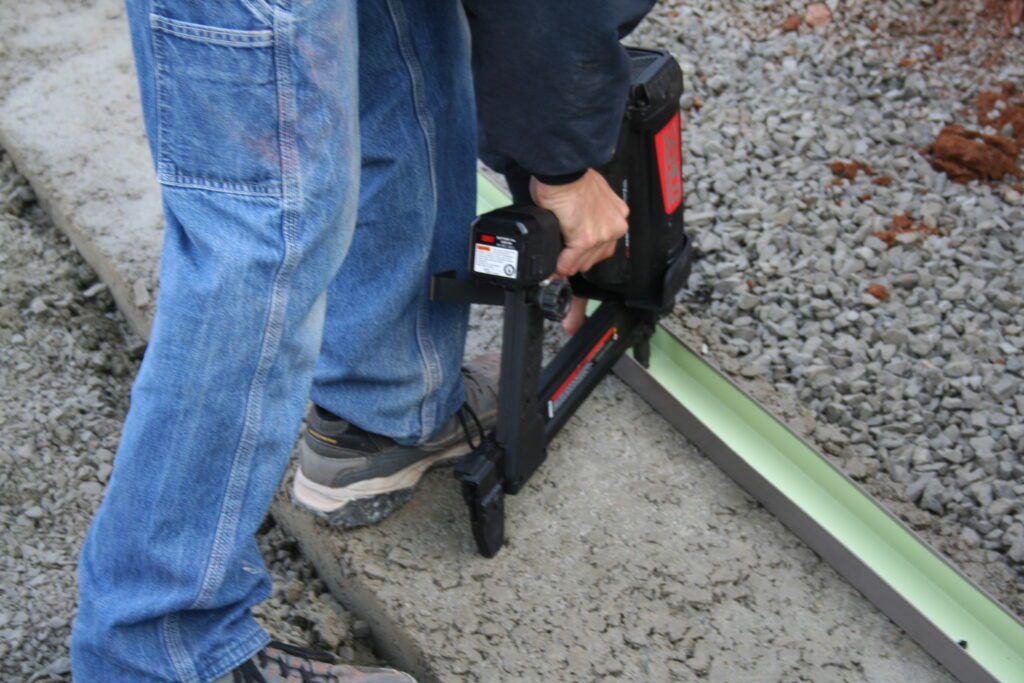 Fix the channel downThe C-channel is fastened straight to the footing with a nailer.
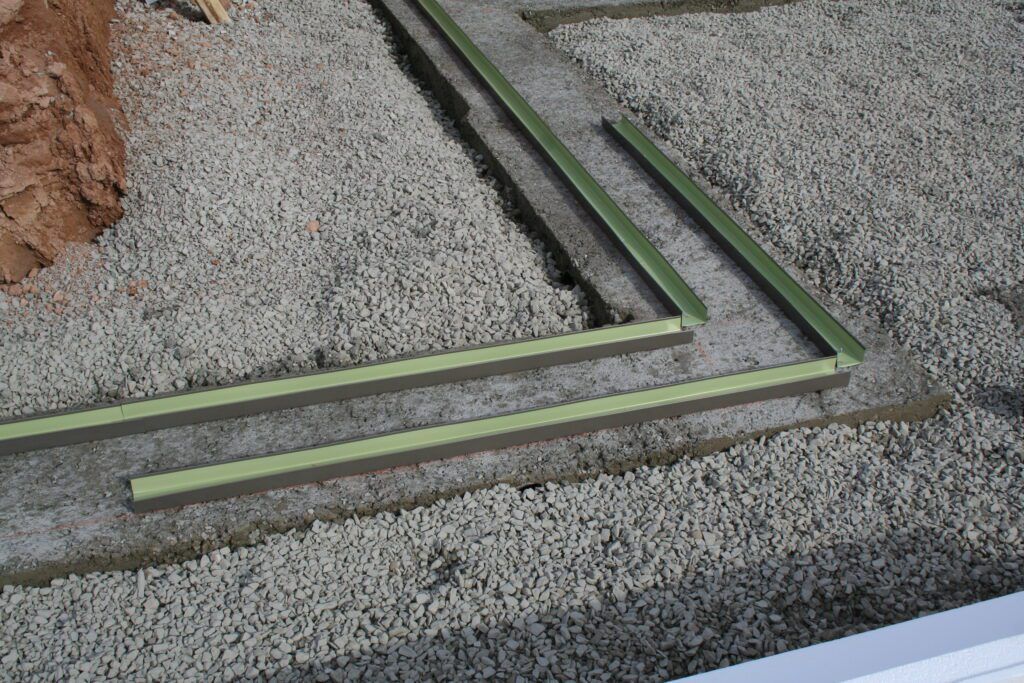 Corners on the lineTrack meets at each corner exactly on the layout line.
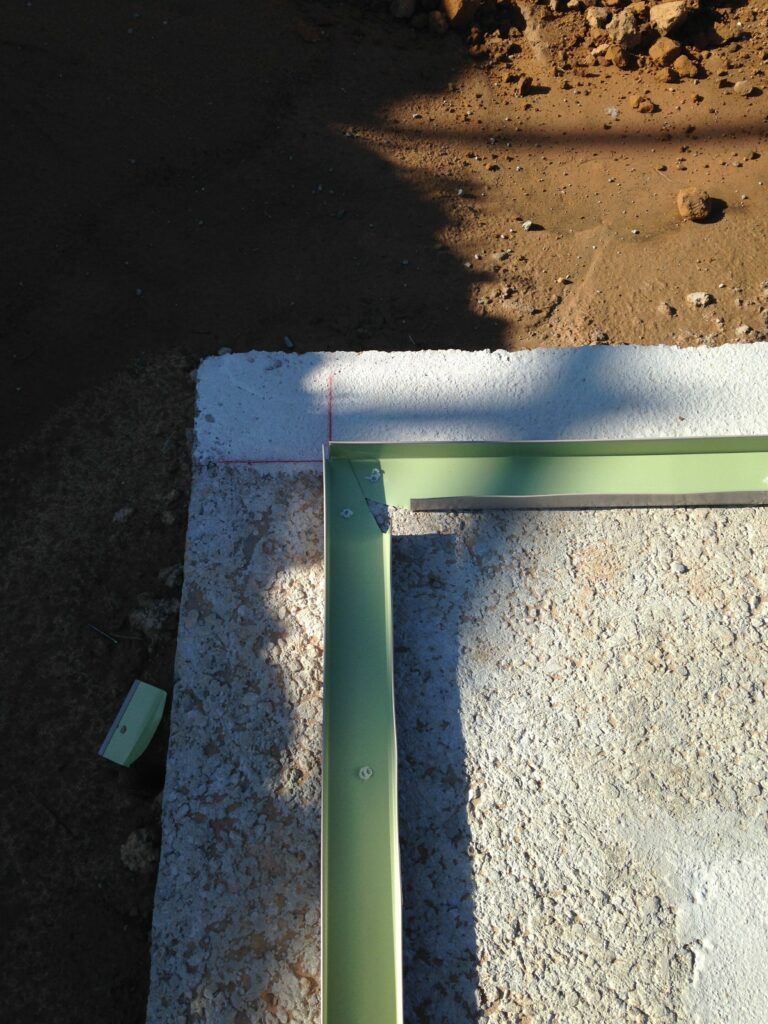 One continuous runSnip and fold the channel around outside corners.
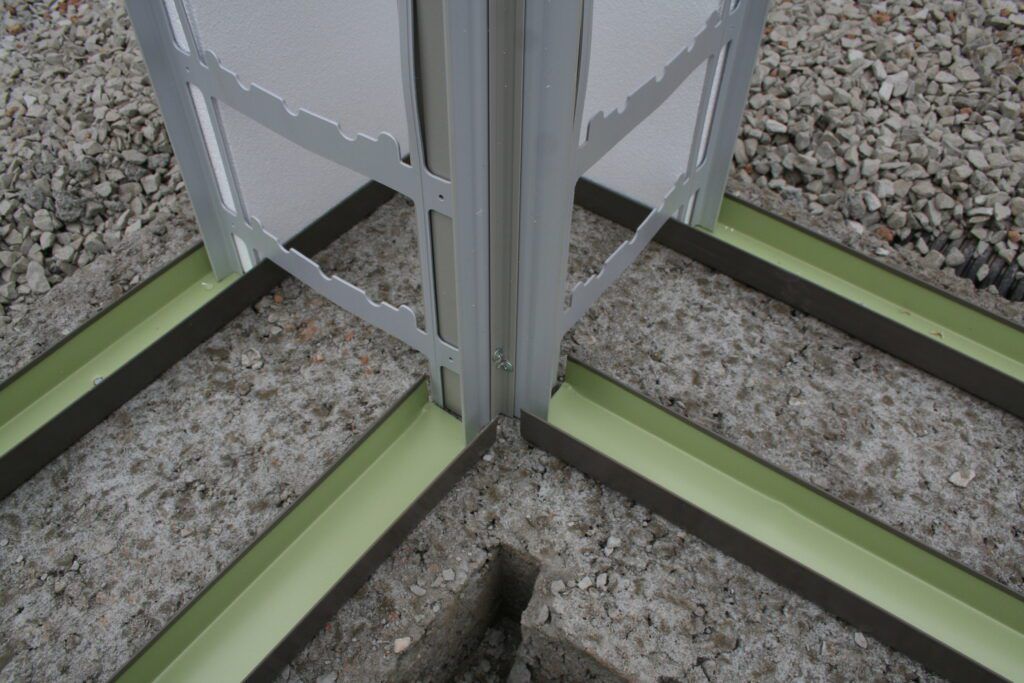 Inside cornersChannel slides under the inside corner piece — captive from the start.
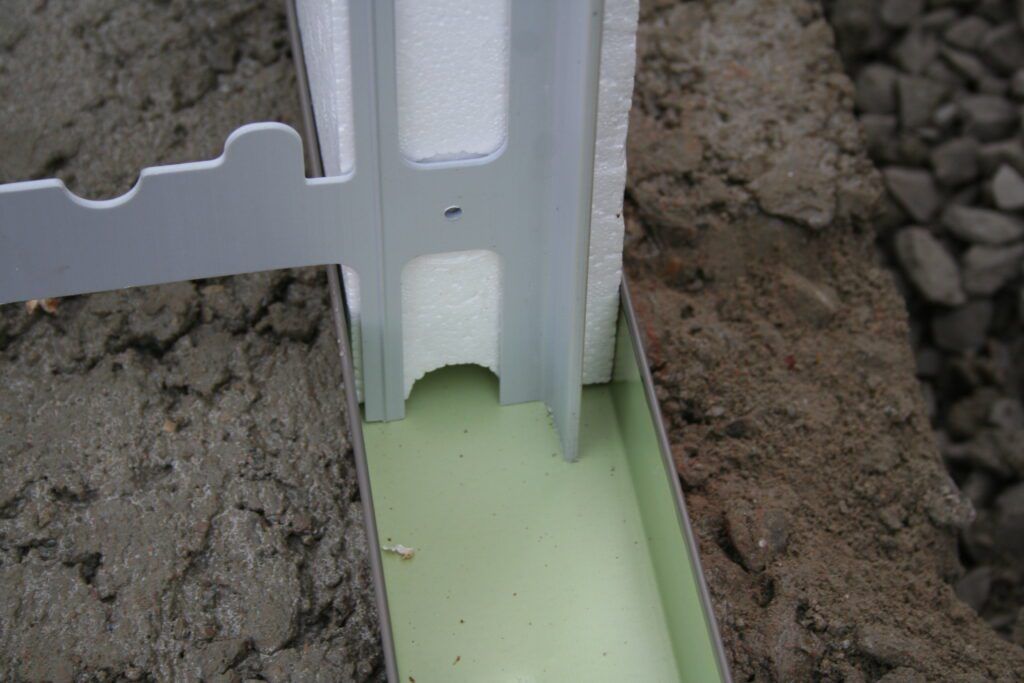 The track holds everythingPanels and studs seat into the channel — aligned before any bracing goes up.
Corners first
Corners assemble flat on the ground — full height — then stand up, get their kickers, and get plumbed once. They stay put for the whole build.
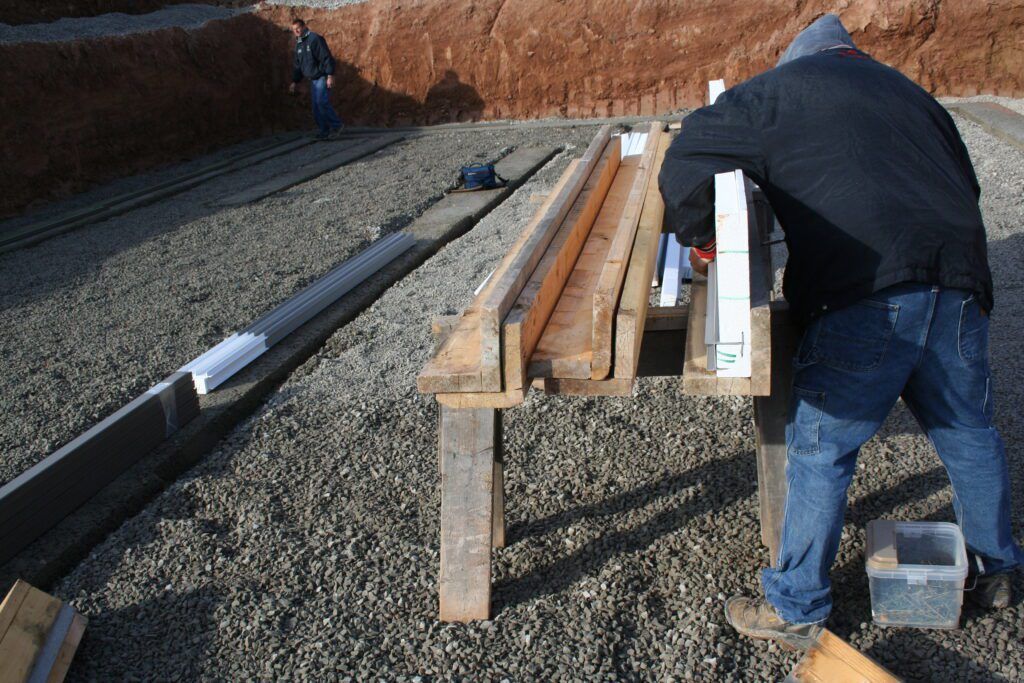 Built on sawhorsesThe corner post gets its 2×6 brace at working height.
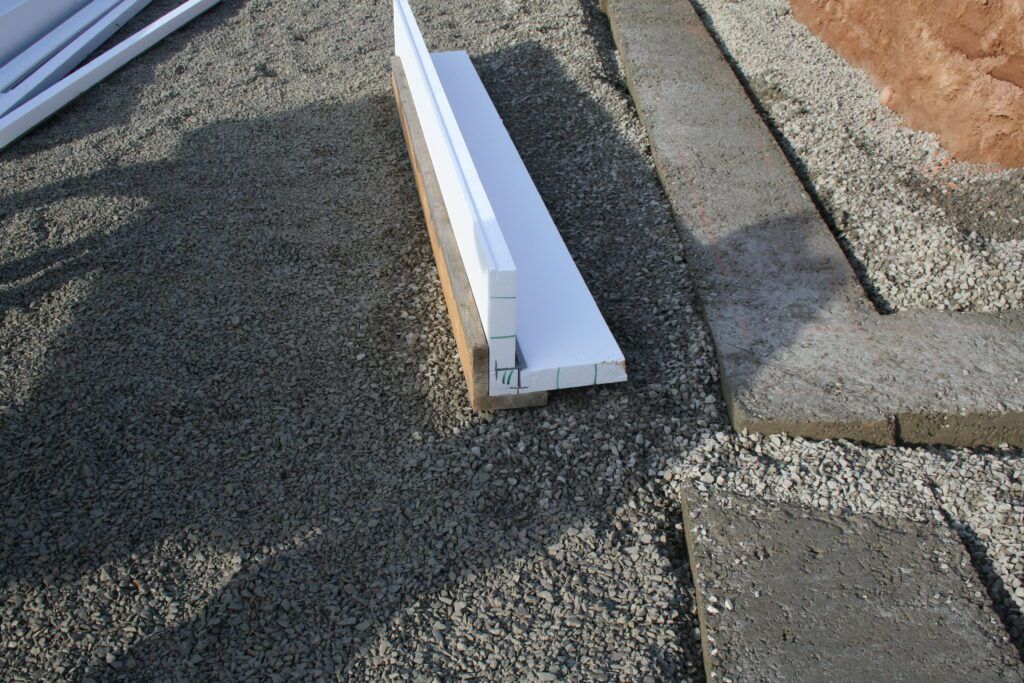 One full-height unitOutside + inside pieces, assembled flat, ready to stand.
 Stand it upThe corner rises as one braced unit, kickers already attached.
 Kickers to the footingAngle kickers anchor to the footing or the channel itself.
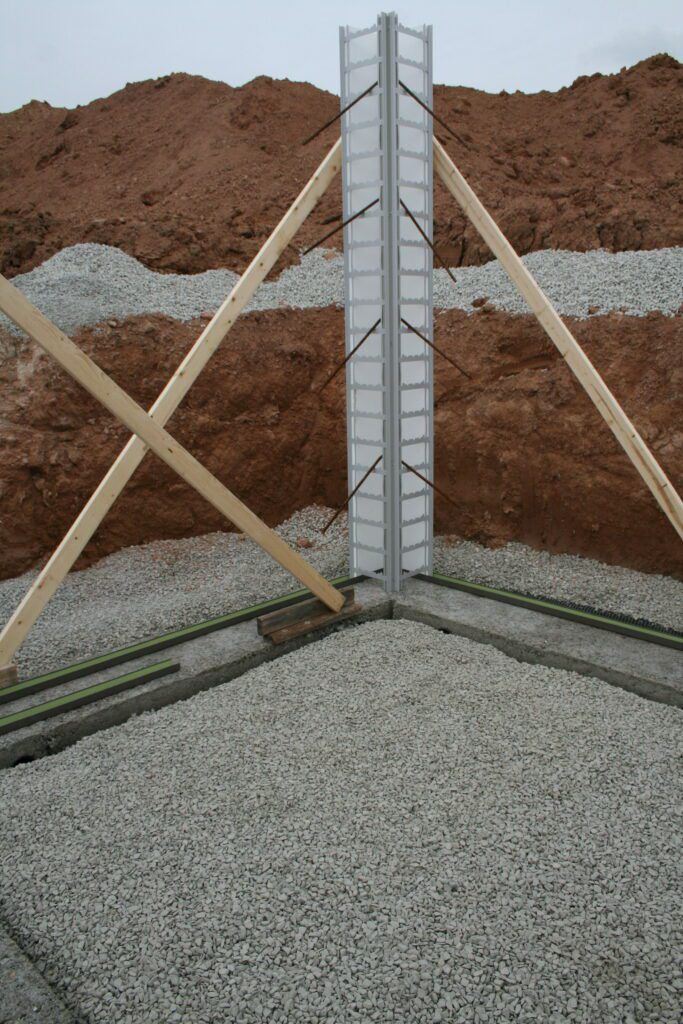 Plumb it onceLevel in both directions — it holds for the whole build.
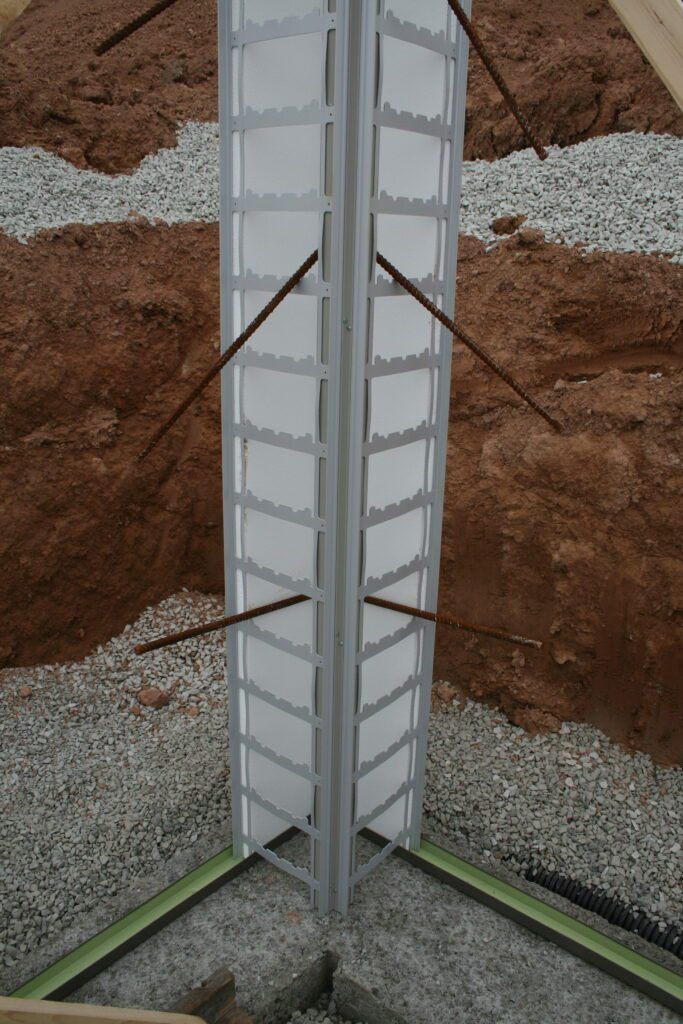 Standing freeA braced corner, ready for the walls to grow out of it.
Panels & studs
From the corners, the wall fills in — a PVC stud every 8″, a molded EPS panel sliding in between. Two people, no crane, no stacking.
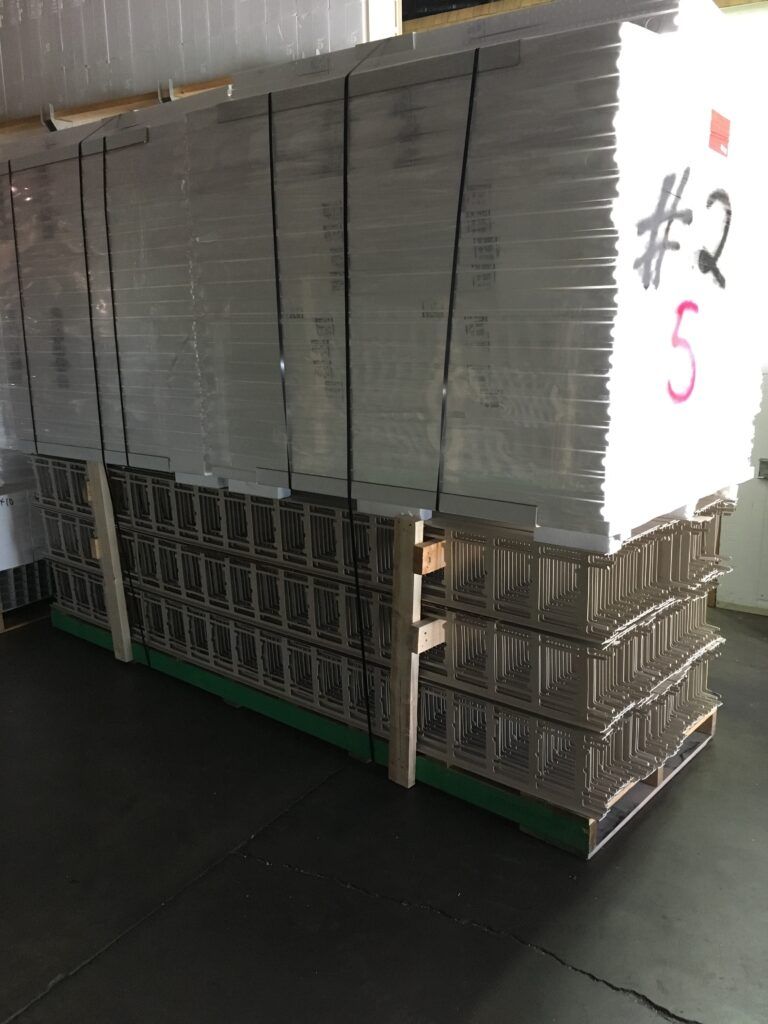 It ships flatPanels and studs arrive banded on standard pallets.
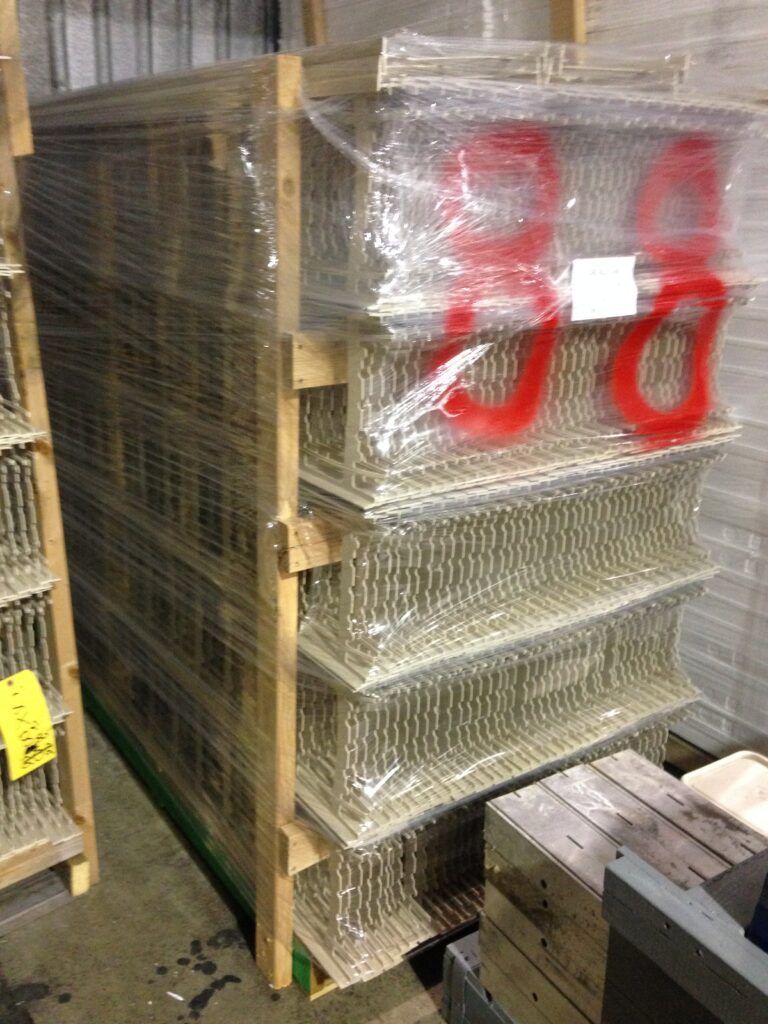 Light to handlePunched-web PVC studs — carry a bundle by hand.
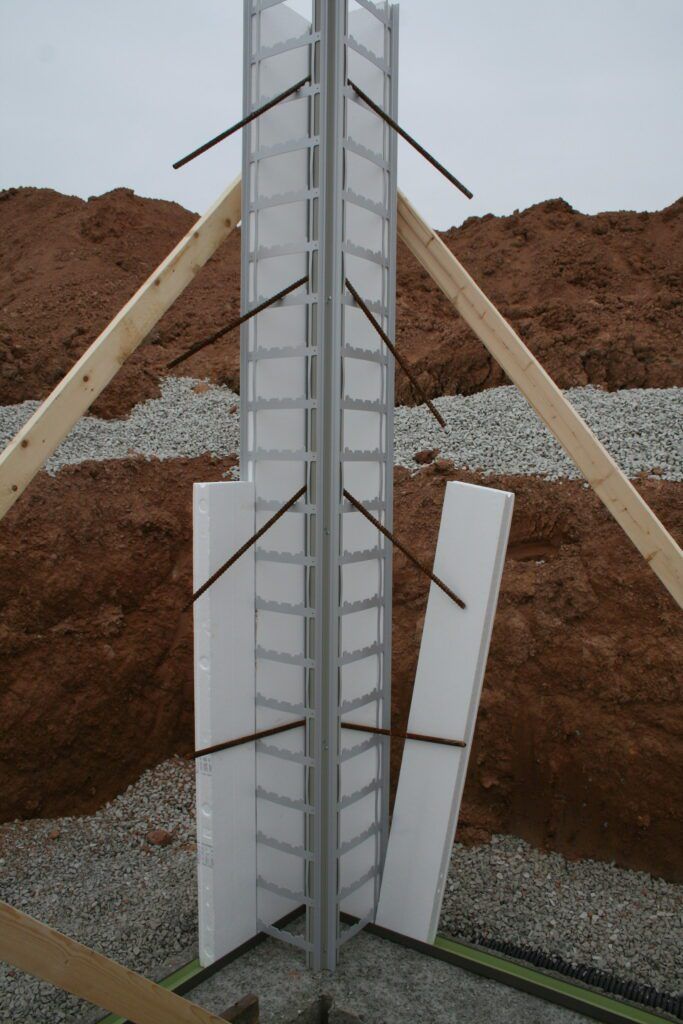 First panel inThe first molded panel leans into the corner stud.
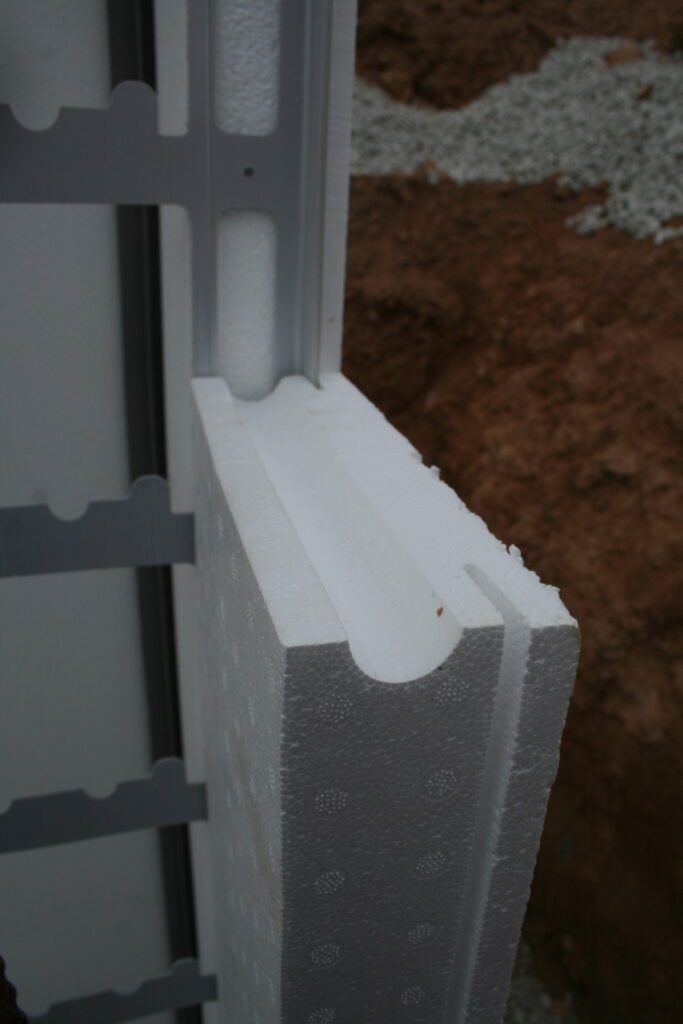 The interlockMolded edges slide into the stud — no glue, no gaps.
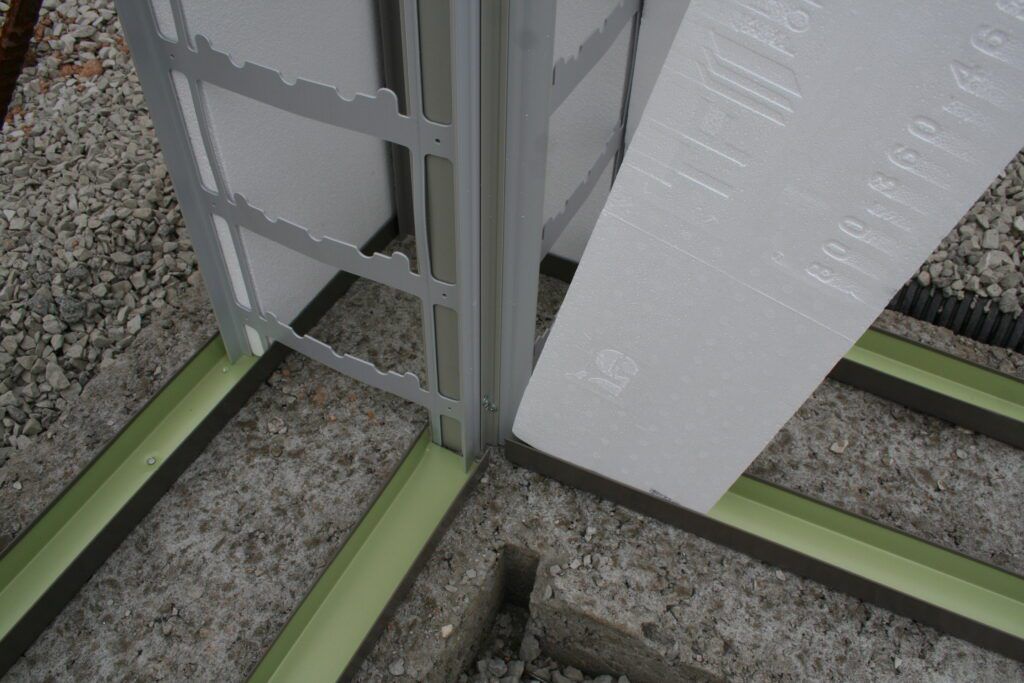 The rhythmStud, panel, stud, panel — every 8 inches, all the way around.
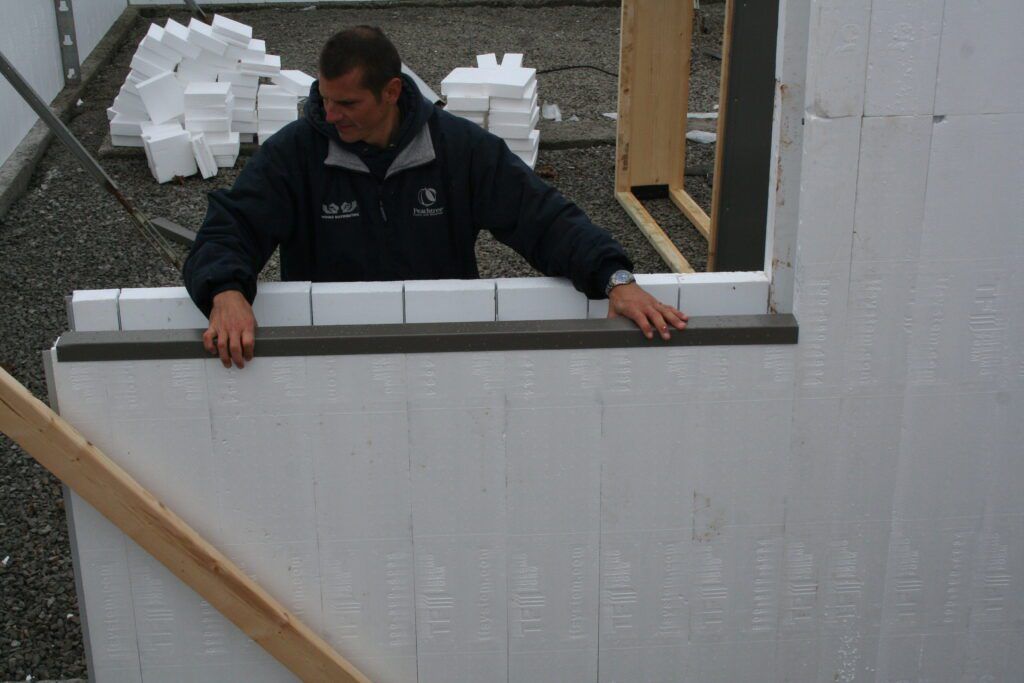 By hand, full heightPanels slide in floor-to-ceiling — two people build walls fast. No stacking.
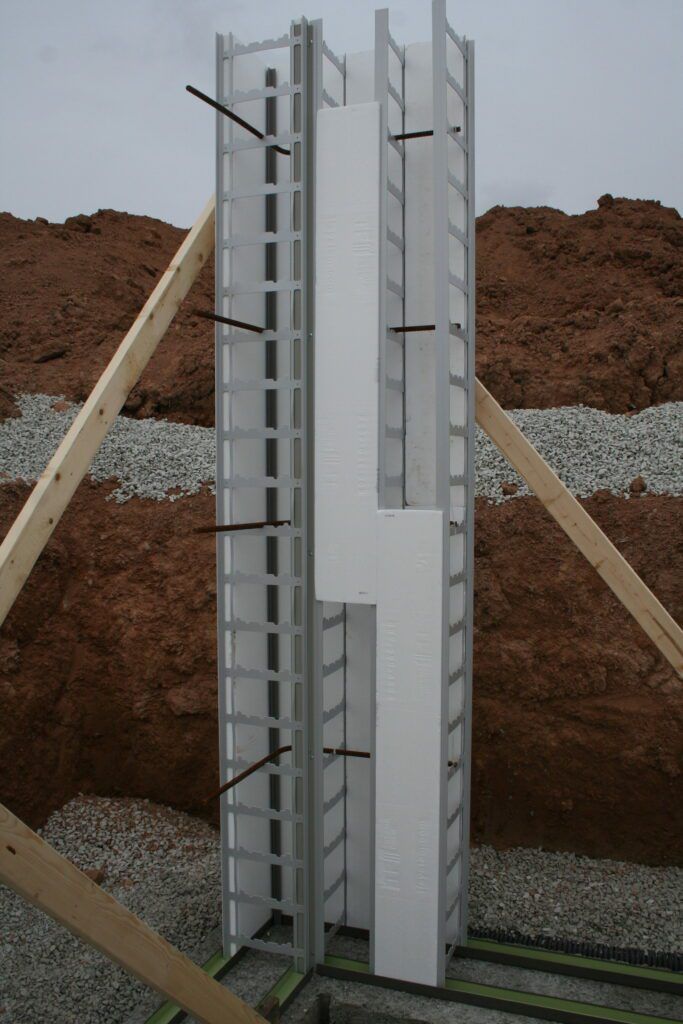 The wall growsOut from the corner, panel by panel.
Steel & openings
Rebar threads through the punched stud webs and stays visible — every bar can be inspected until pour day. Bucks place windows and doors wherever the plan wants them.
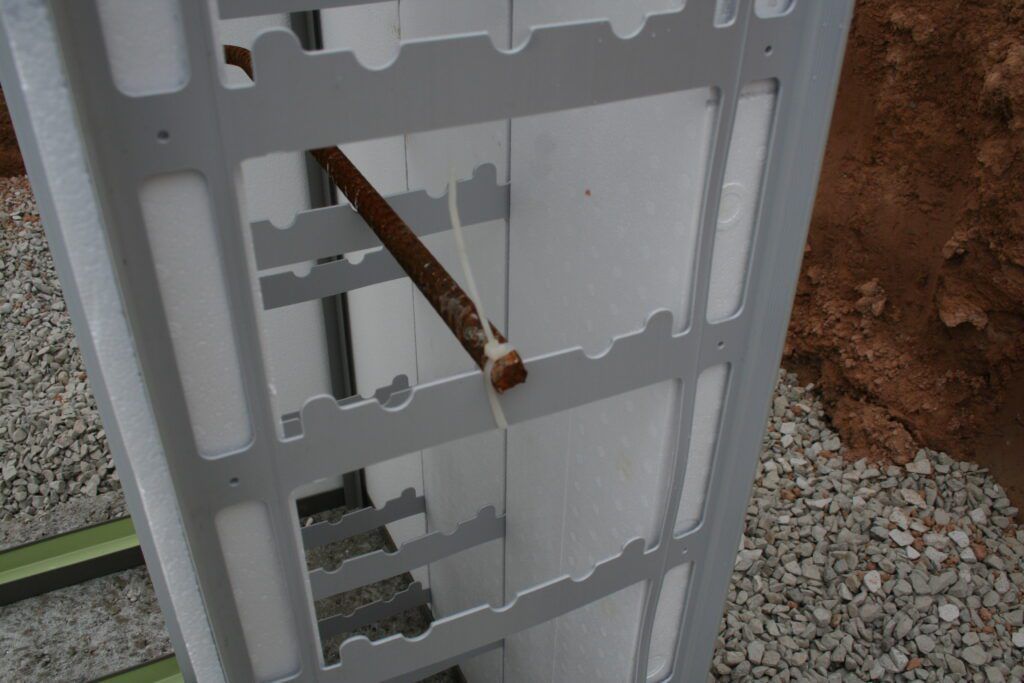 Through the websHorizontal steel runs through the punched stud webs — no wire chairs.
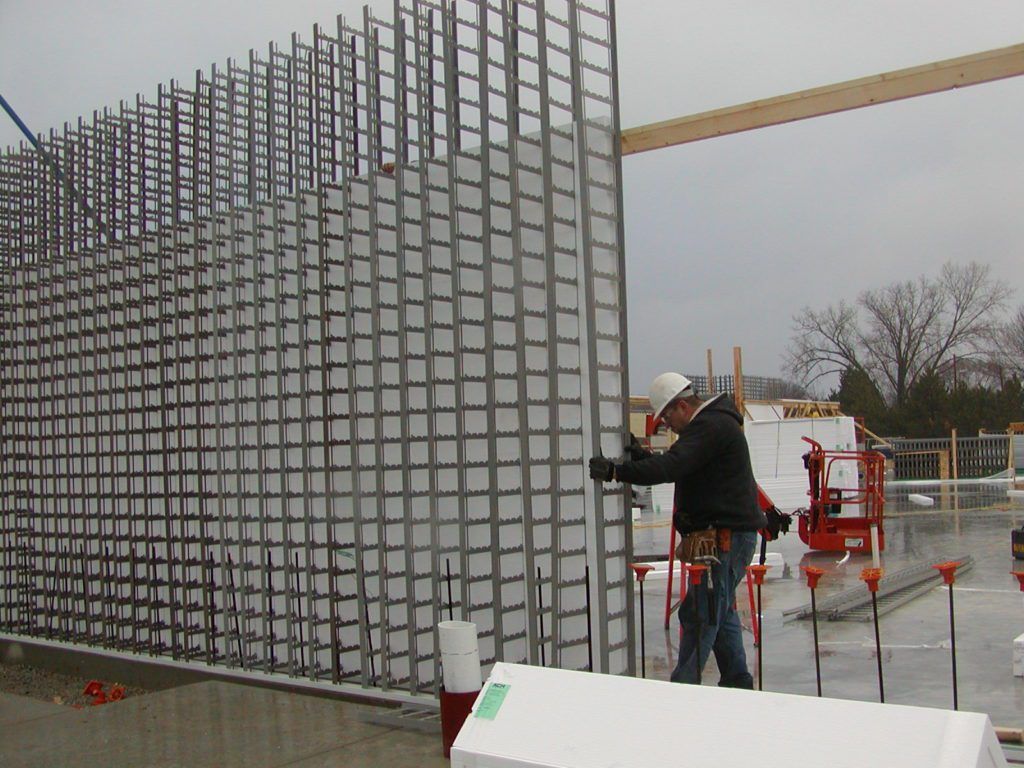 See every barLeave a face open, tie all the steel, inspect it, then panel it shut. Try that with a block.
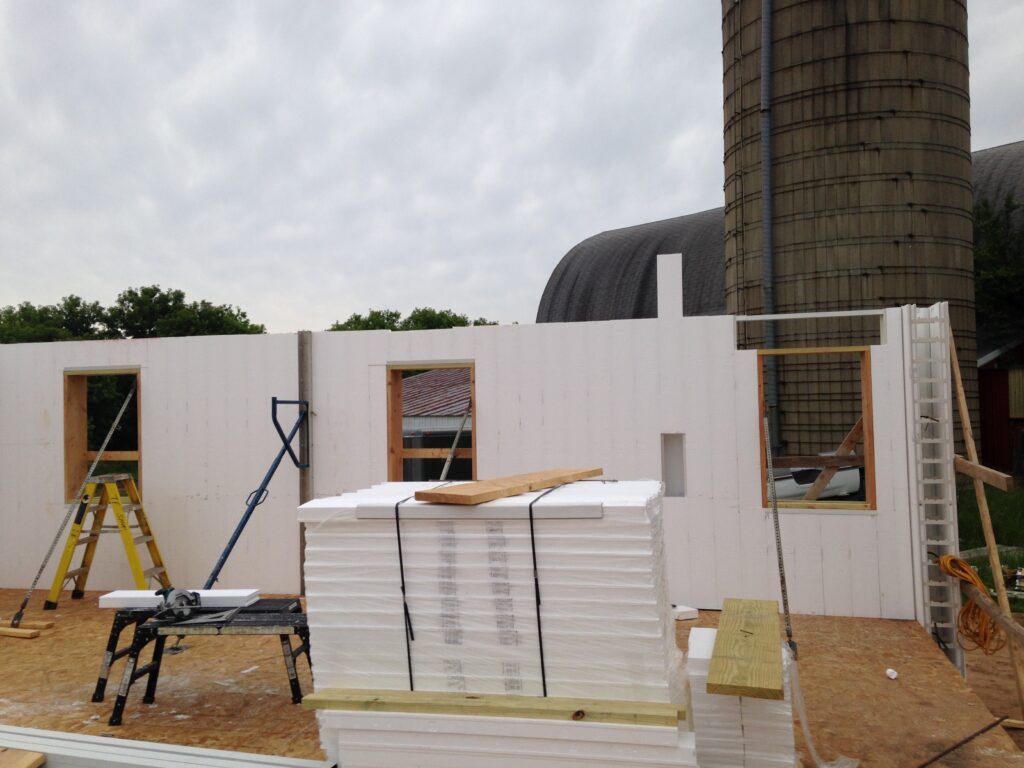 Openings anywhereWindow and door bucks go exactly where the plan needs them.
 Services firstElectrical conduit runs in the wall before the pour.
Brace & pour
The whole box is braced as one unit — nothing floats, nothing stacks, nothing shifts. Then one monolithic pour fills the core.
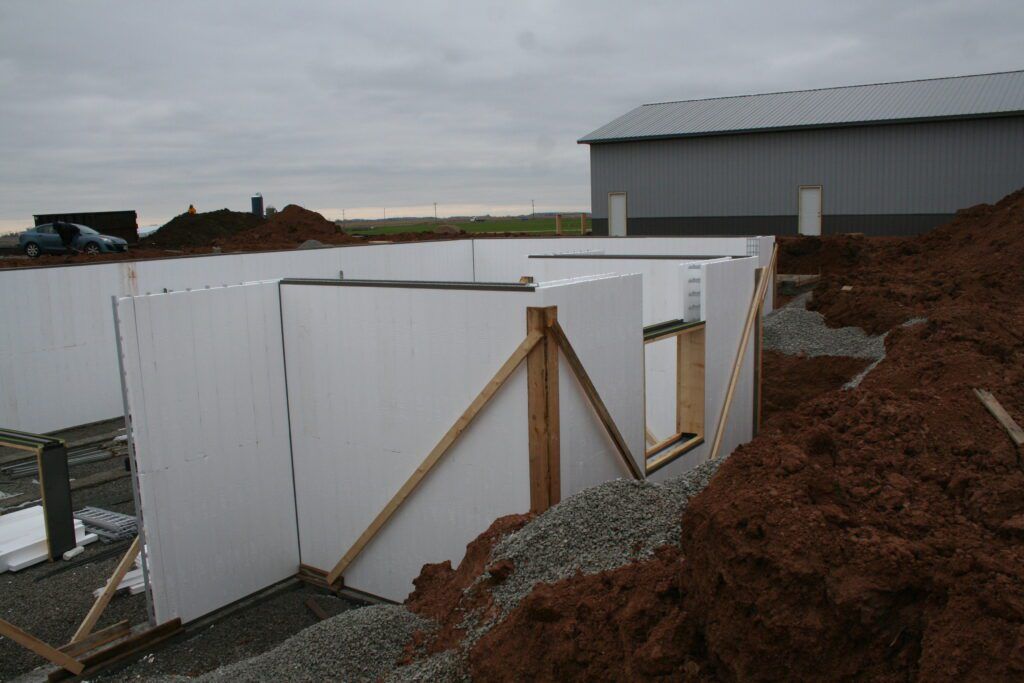
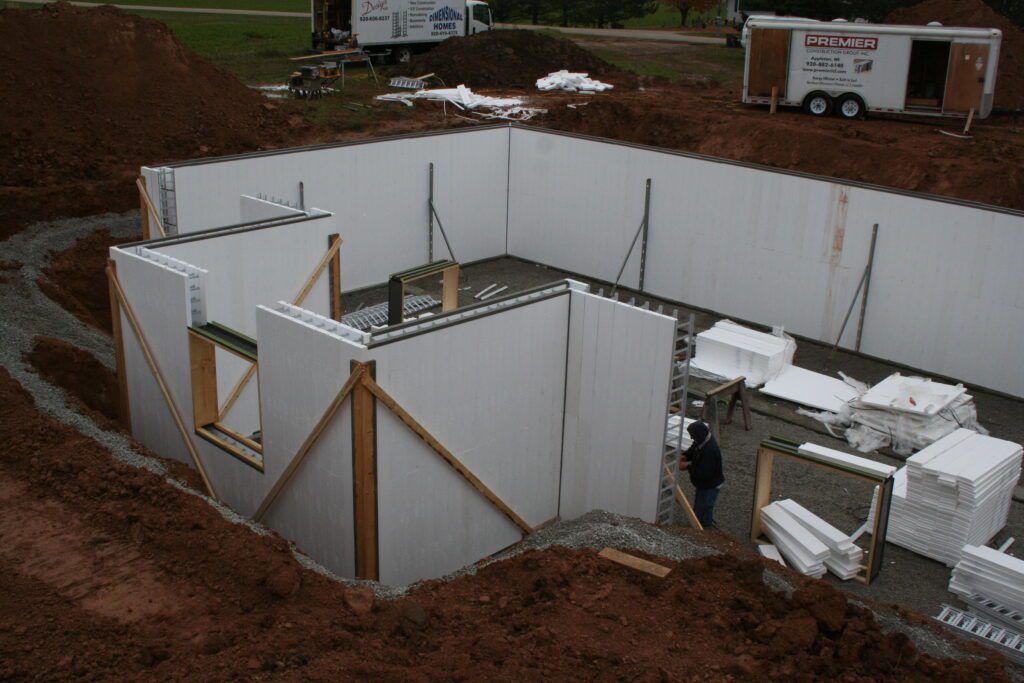 The whole box, braced as oneA full shell standing ready — braced once, poured once.
 Ordinary lumberPlain 2×4s and kickers — nothing rented, nothing special.
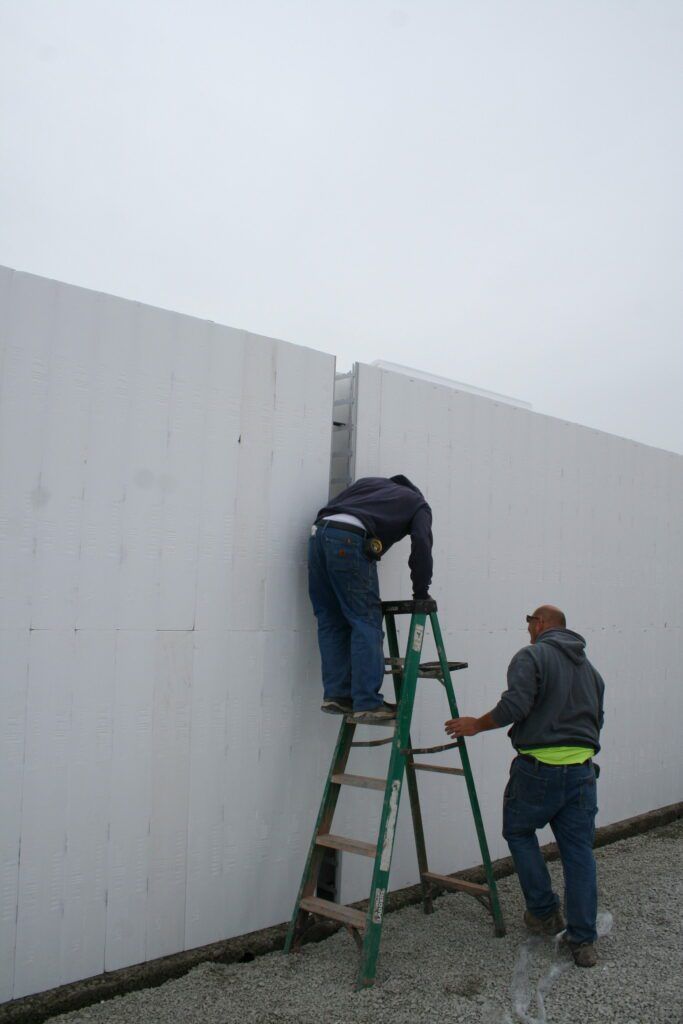 Tall walls, no fearFull-height panels shine where stacked blocks get risky.
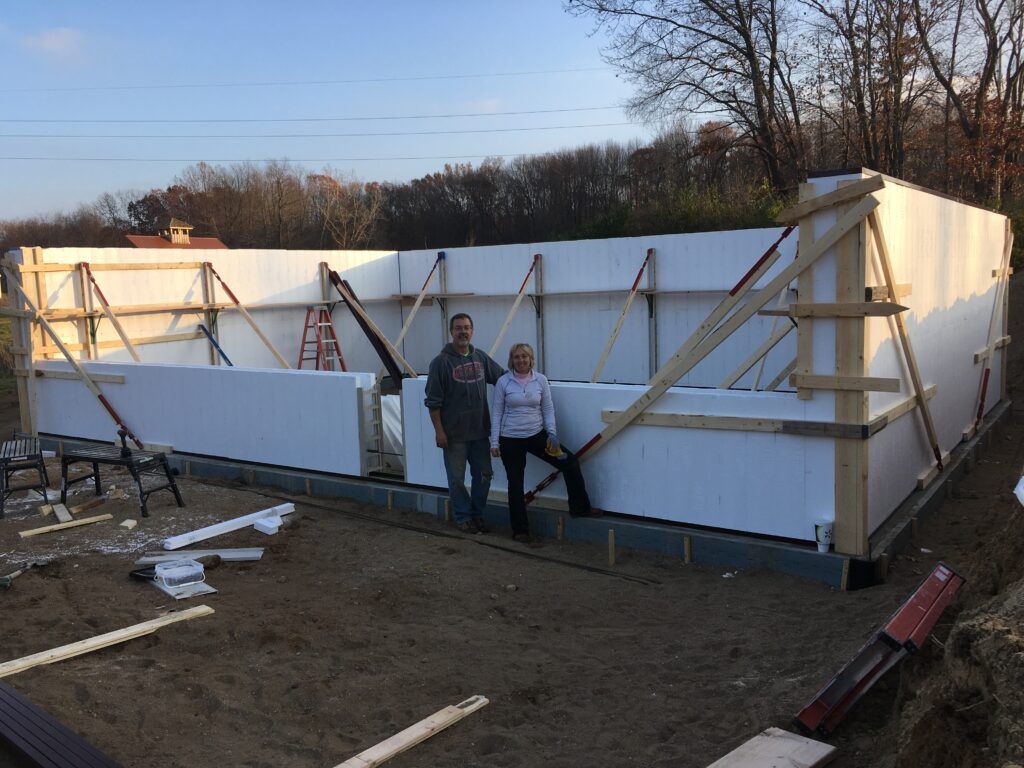 Long runs stay straightFewer joints means cleaner alignment over long walls.
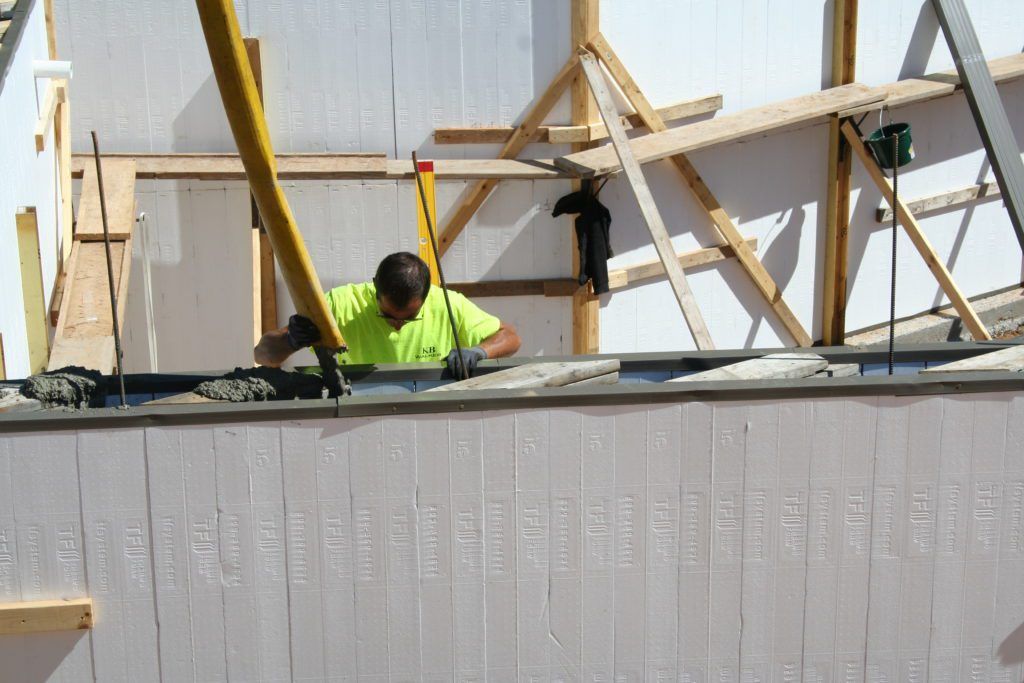 One monolithic pour4″ to 12″ of concrete in a single pass. The foam stays as insulation.
The details
The fiddly parts of concrete construction are where lesser systems get abandoned. Every one of these has a proven detail.
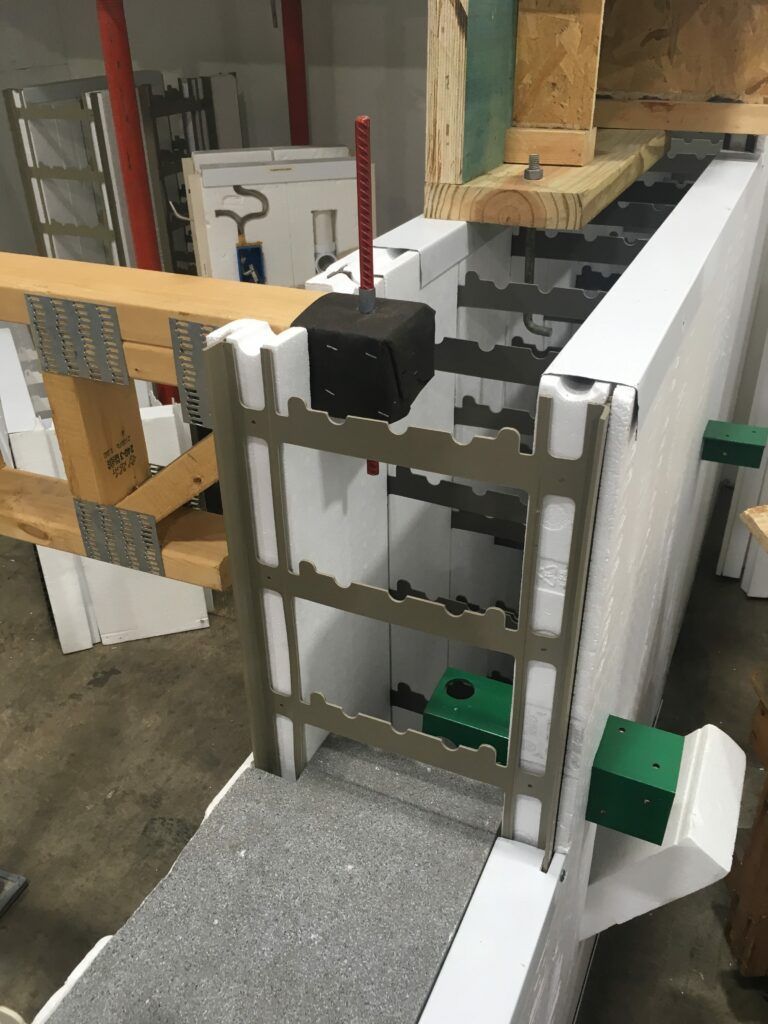 T-intersectionsInterior concrete walls tie in without special blocks.
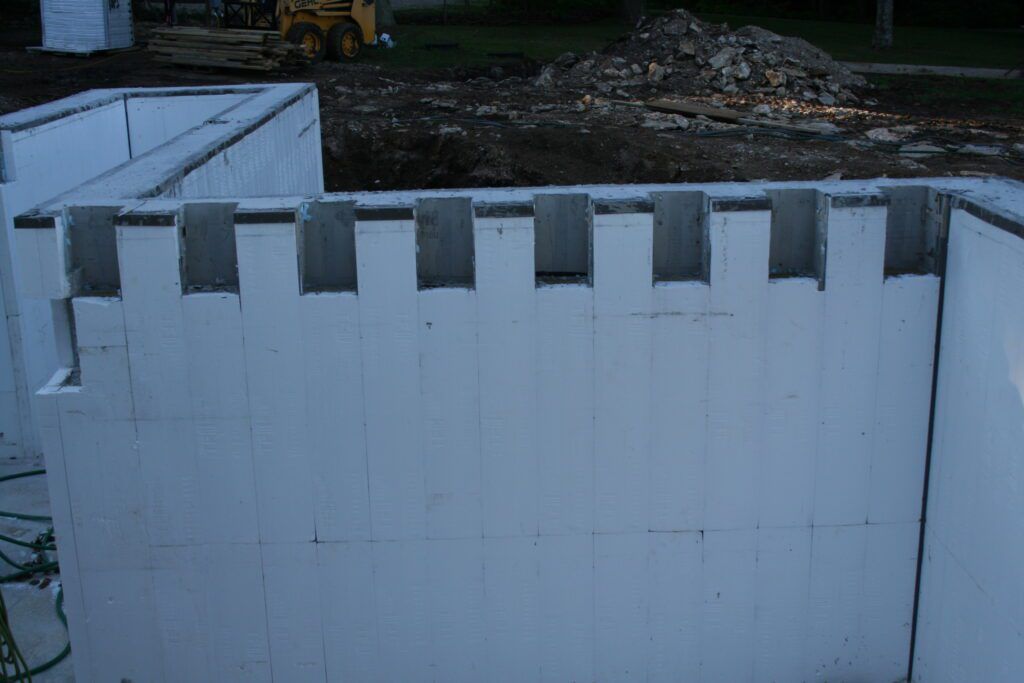 Joist pocketsFormed into the wall top — no retrofit hardware.
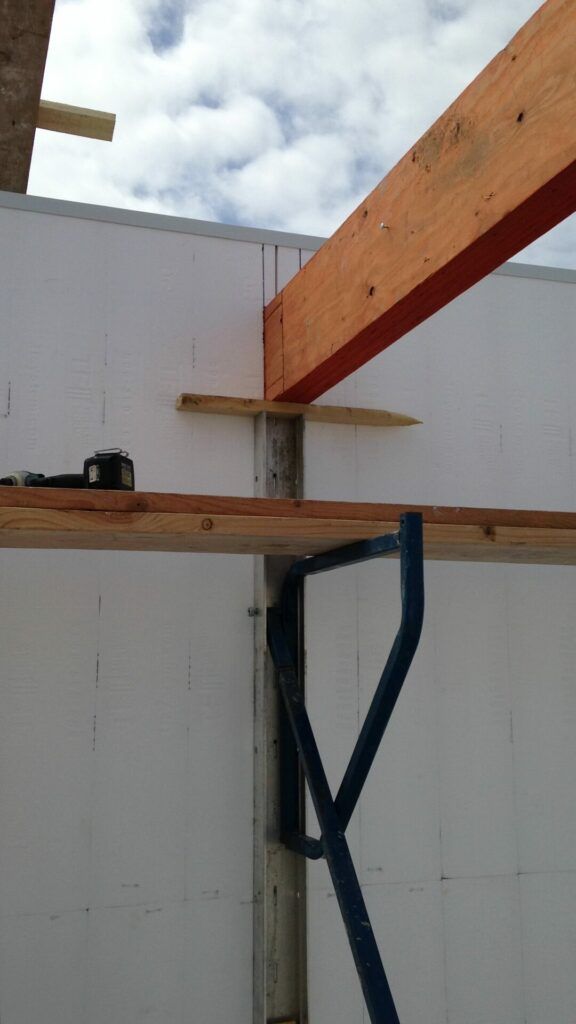 Beam pocketsSteel beams land in pockets formed before the pour.
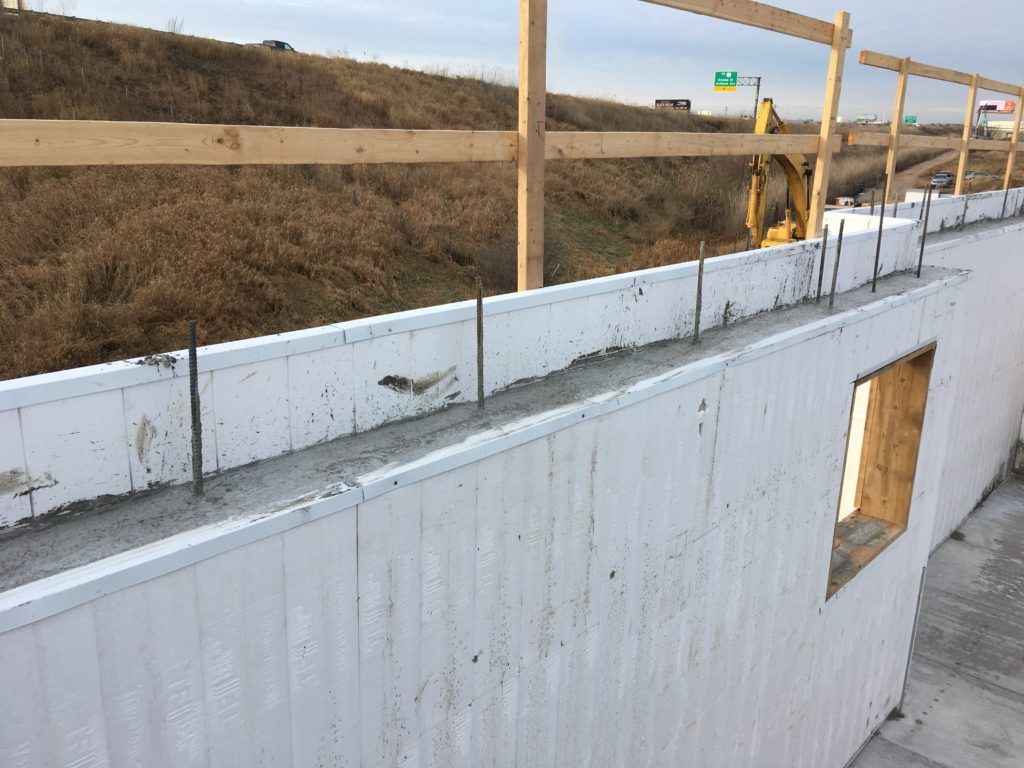 Brick & precast ledgesMasonry support formed straight into the wall.
 Concrete floors & roofsPairs with insulated deck forms for full concrete structures.
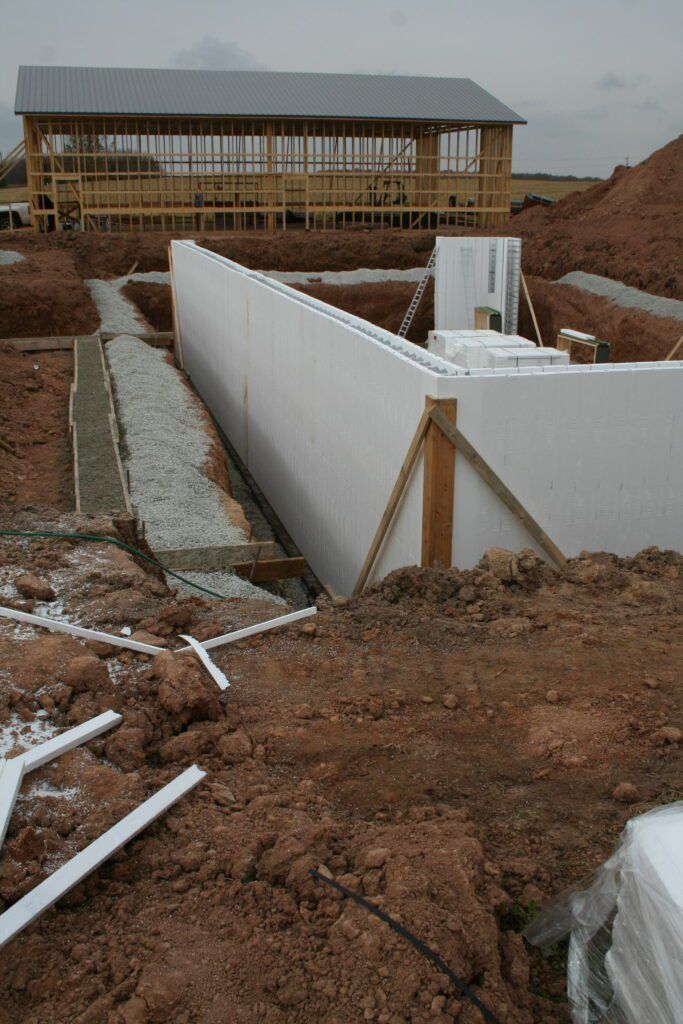 Any planPorches, bump-outs, walkouts — the system follows the drawing.
Finished work
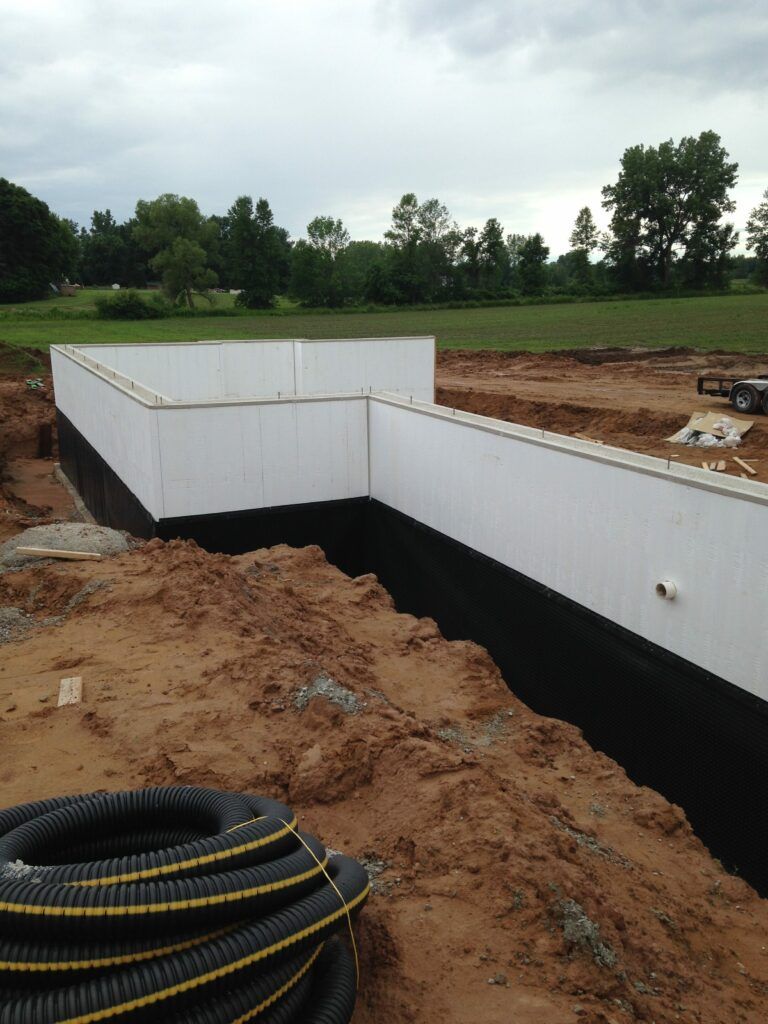
Waterproof it, backfill it, build on it. The same few parts carry basements, two-story homes — even swimming pools.
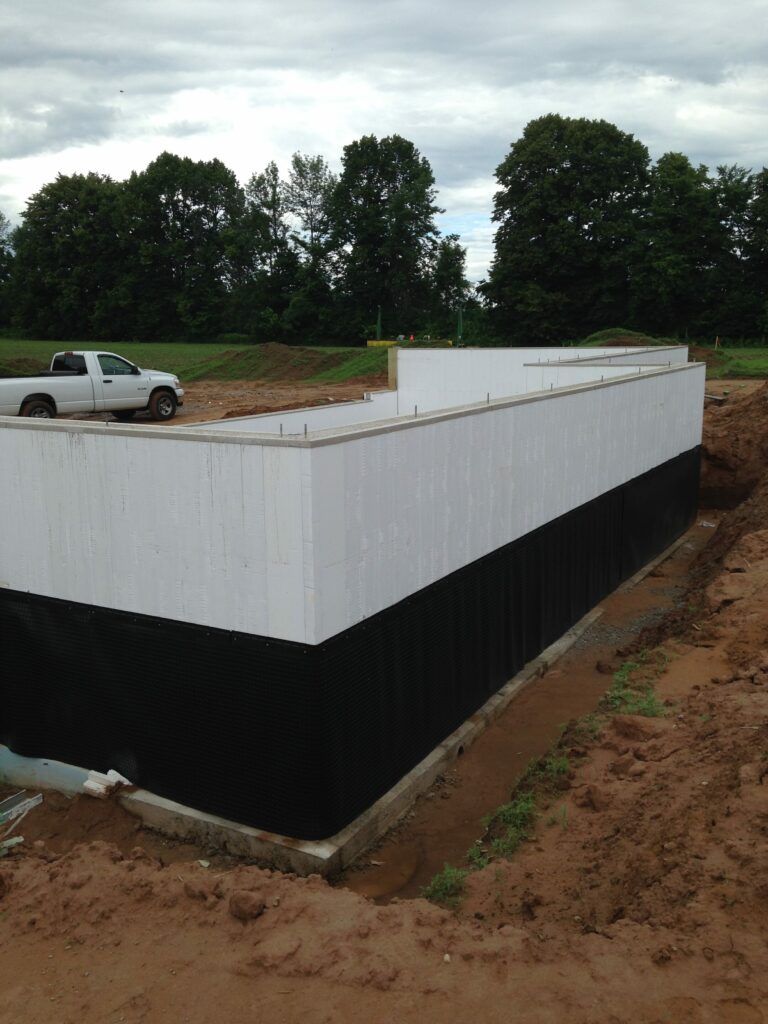 WaterproofedMembrane goes straight onto the flat foam face.
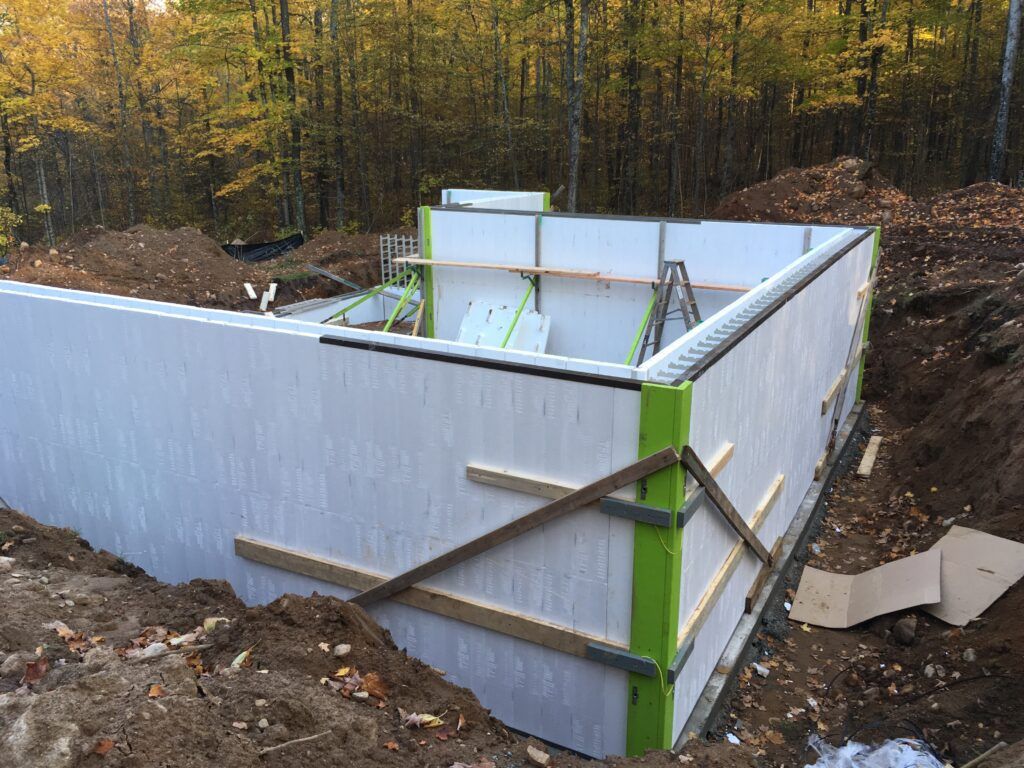 Walkout shellReady for backfill and the framing crew.
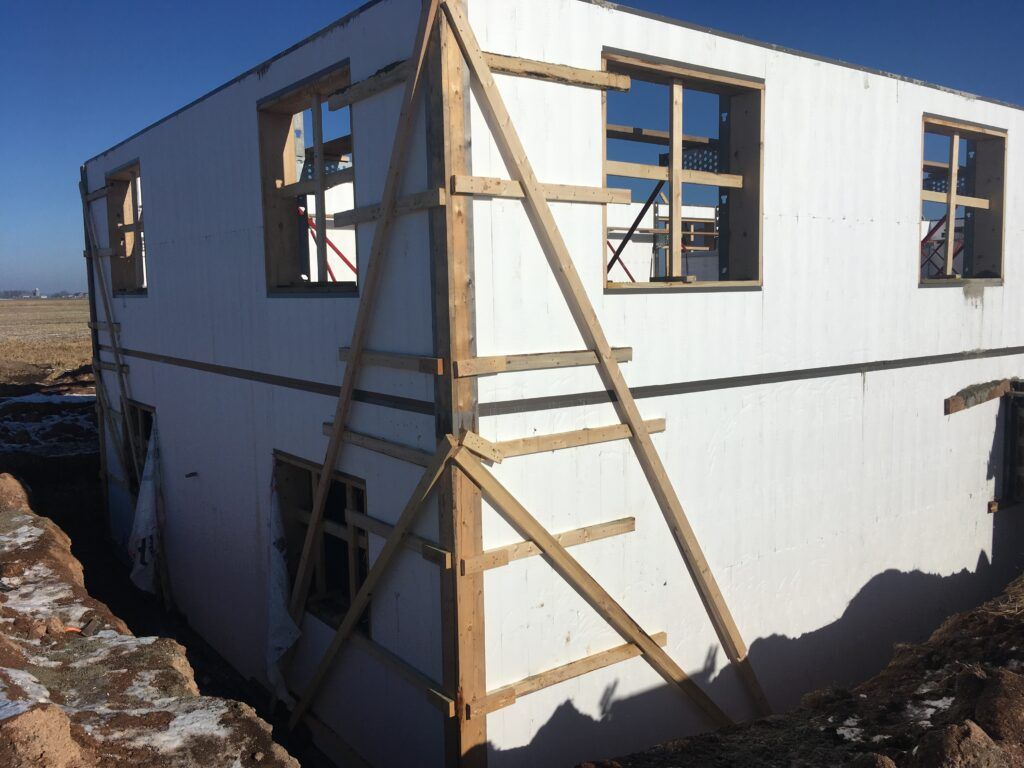 Two stories, one systemBoth levels poured with the same panels, studs and track.
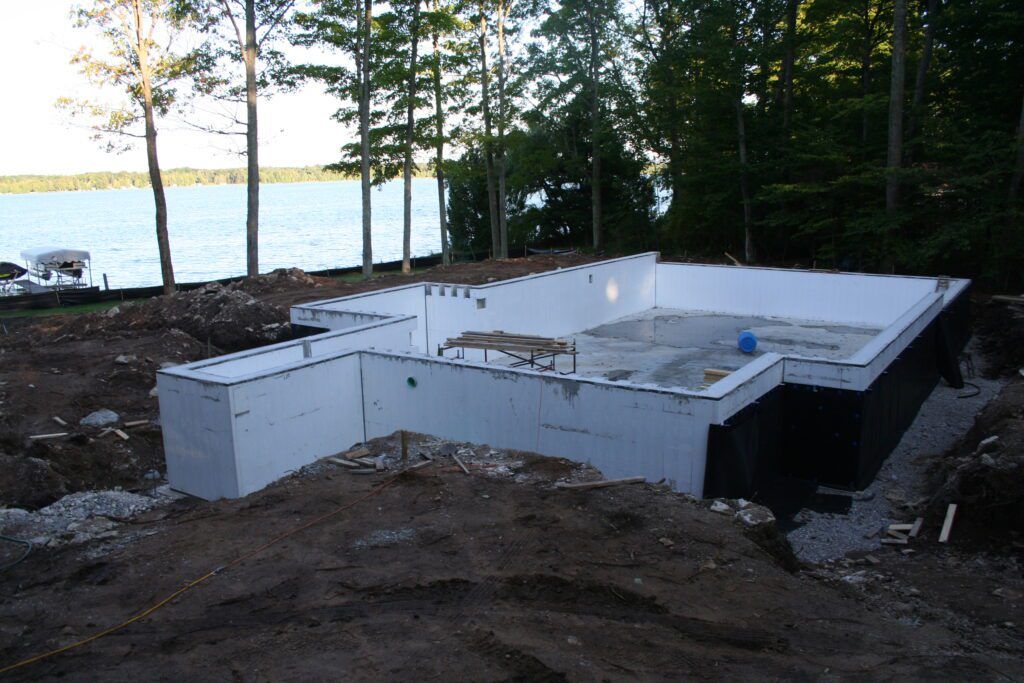 Even poolsA pool shell — strong, insulated, fast to form.
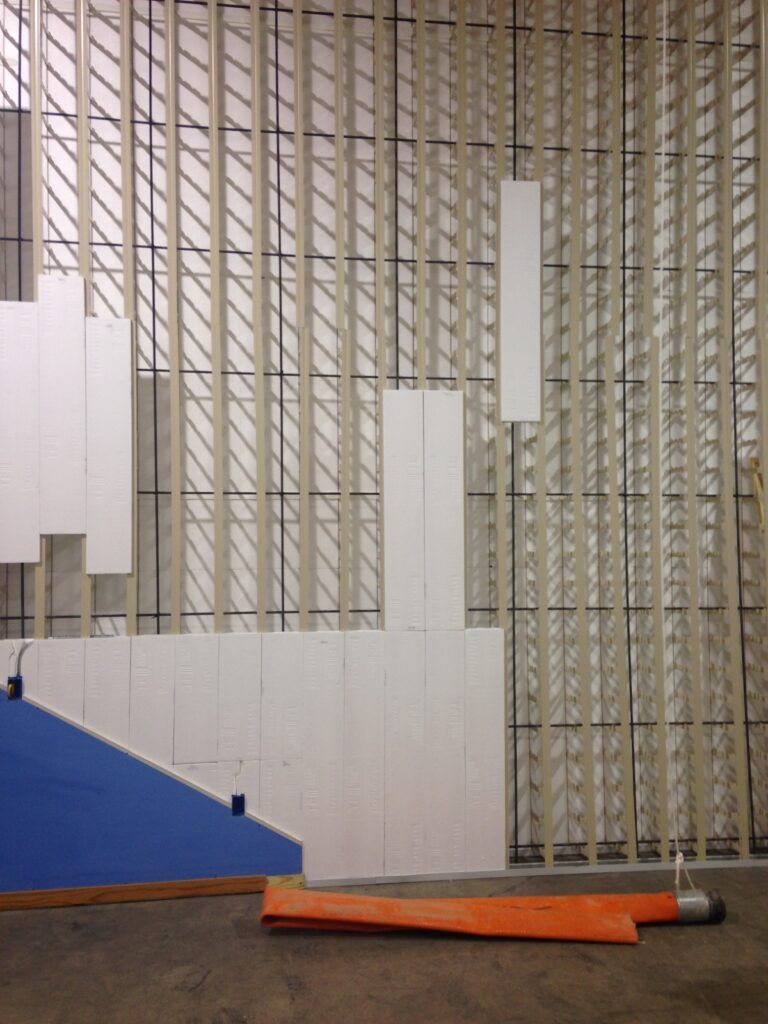 Touch the real wallA cutaway in section — foam, steel and concrete in one.
Understand the system
What the wall is made of, and how it goes together.
Anatomy of a Wall
Pull a wall apart and see every part — panels, studs, corners, rebar, core.
Explore the Wall in 3D
Change the core and the insulation and watch the wall rebuild — with the specs beside it.
This is the real system you're designing with
Every design here builds from these exact parts, photographed on real B3X jobsites.